Understanding the rooflight installation process will help you prepare adequately and ensure your project runs smoothly from start to finish.

Transforming your home with natural light through rooflights represents one of the most effective ways to enhance both the aesthetic appeal and functionality of your living space. Understanding the rooflight installation process will help you prepare adequately and ensure your project runs smoothly from start to finish.
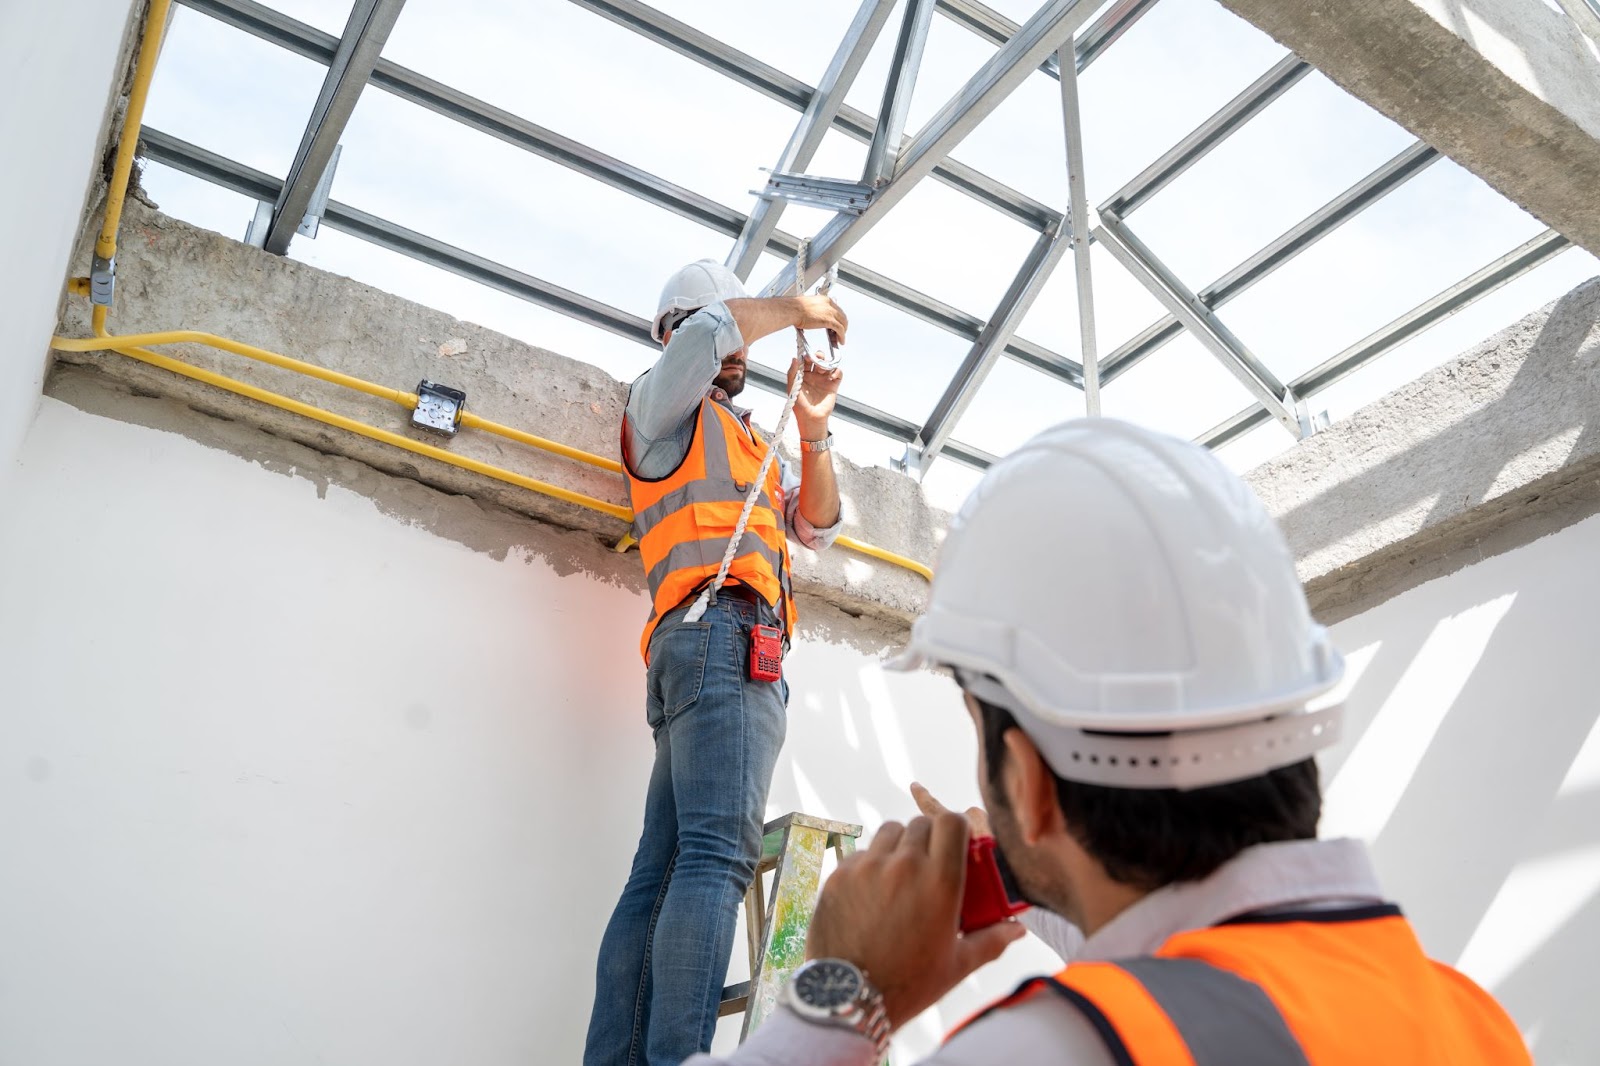
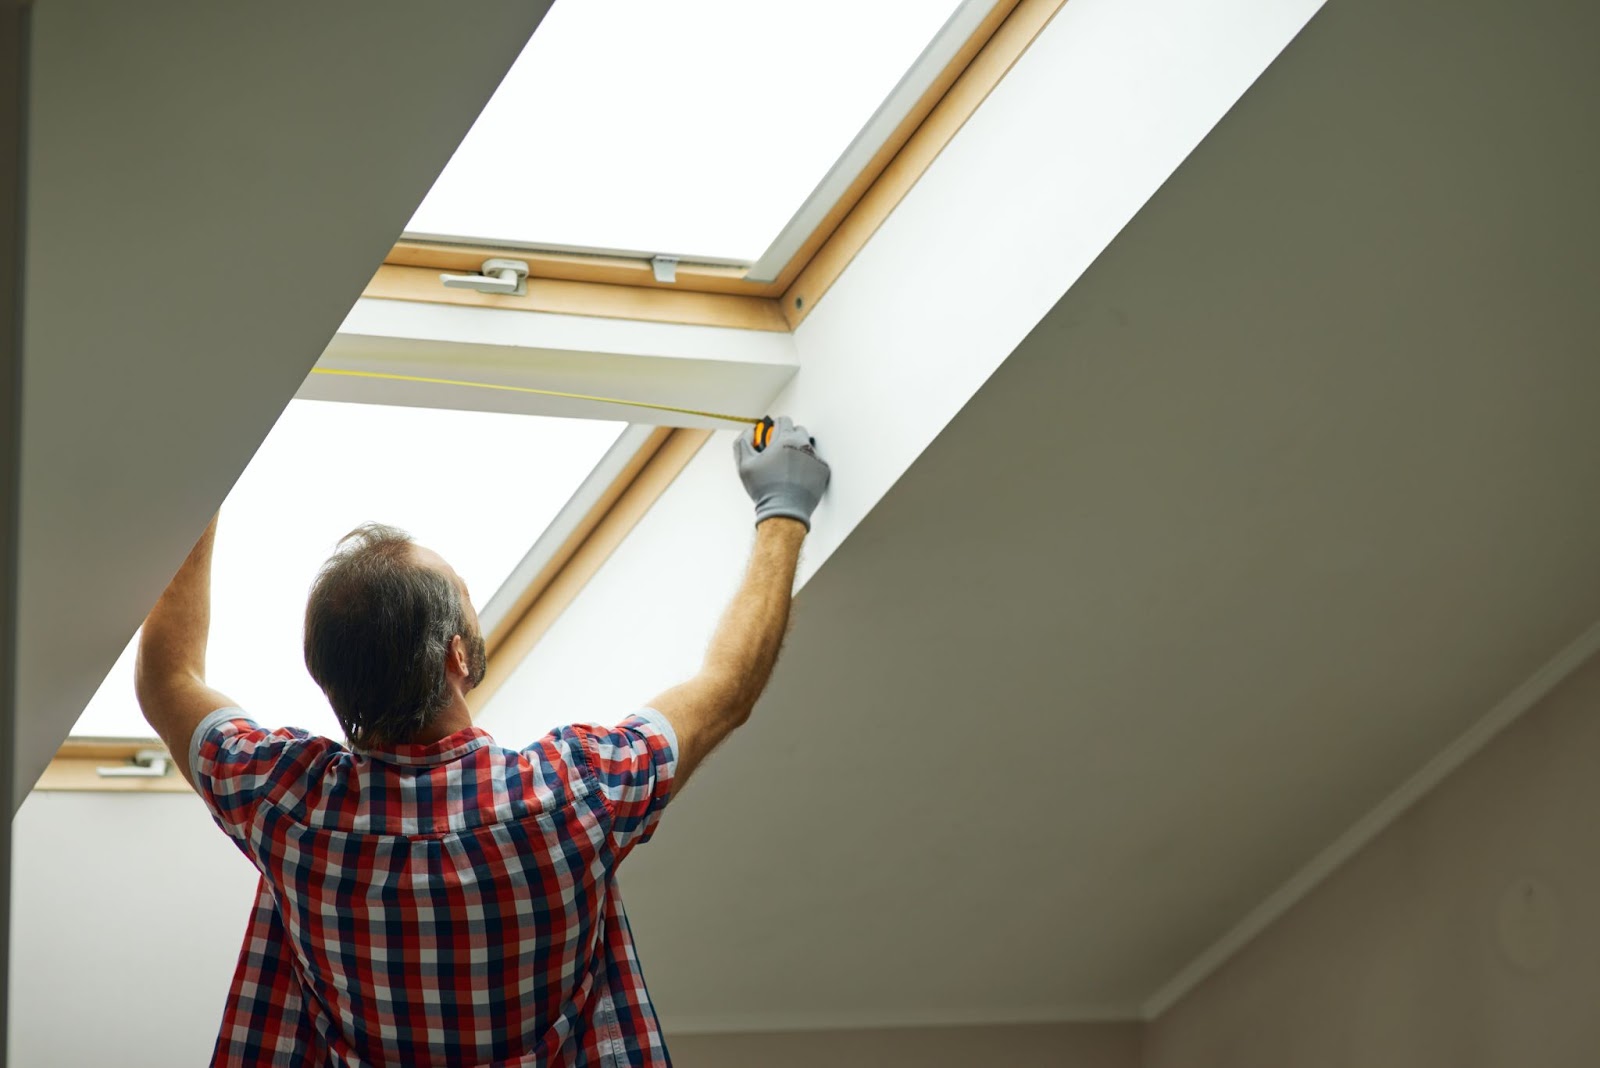
The foundation of any successful rooflight installation begins with a comprehensive consultation and detailed site survey. Professional installers examine your roof’s structure, including its pitch, materials, and structural integrity. They measure the proposed installation area with precision, ensuring your chosen rooflight will integrate seamlessly with existing roof architecture.
The internal survey proves equally important, as installers examine the ceiling area where your new roof windows will be visible. This inspection reveals electrical wiring, plumbing systems, or other services that might require relocation during installation. The surveyor evaluates how additional natural light will affect your room’s layout and whether internal finishing work will be necessary.
This consultation provides the perfect opportunity to discuss your specific requirements and expectations, whether you’re seeking to maximise natural light or create a dramatic focal point in your living space.
Following the survey, the design phase transforms your vision into detailed technical specifications. Professional installers create technical drawings illustrating exactly how your rooflight will be incorporated into your roof structure, specifying everything from opening dimensions to waterproofing methodologies.
Navigating planning permissions and building regulations forms a critical component of this phase. Whilst many rooflight installations fall within permitted development rights, each situation requires individual assessment. Building control approval is typically necessary for structural alterations, and professional installers manage this process on your behalf.
Material selection and ordering occurs during this planning stage, with your chosen rooflights manufactured to exact specifications. This bespoke manufacturing process typically requires two to four weeks, depending on design complexity and supplier workload.
The days preceding your roof light installation process involve several preparatory activities ensuring smooth progress. Weather monitoring becomes paramount, as installation necessarily involves opening your roof structure. Experienced installers maintain close meteorological contact and will reschedule if conditions prove unsuitable.
Access arrangements require careful coordination for scaffolding and equipment positioning. Interior preparation typically involves protecting furniture and belongings in rooms below the installation area, though skilled installers employ comprehensive dust containment systems.
The first part involves creating the structural opening for your rooflight. Weather protection systems are implemented immediately, with professional installers deploying heavy-duty coverings to protect your home should conditions change unexpectedly.
Creating the opening demands precision and expertise. Installers carefully remove existing roof tiles, working systematically to preserve original materials for reuse. Specialised cutting tools create the opening through the roof deck, with experienced tradespeople minimising noise and dust generation.
Structural modifications may prove necessary depending on your roof’s construction. This could involve installing additional beams or strengthening existing elements to support your new rooflight’s weight. All structural work adheres to building regulations and undergoes appropriate building control inspection.
Temporary weatherproofing measures ensure your home remains watertight overnight, as professional installers never leave structural work unfinished.
This focuses on fitting your rooflight and implementing comprehensive weatherproofing systems. Positioning rooflights requires considerable expertise, as these units are often substantial in size and weight. Professional teams employ specialised lifting equipment and proven techniques for safe positioning.
Implementing waterproofing systems involves multiple protection layers, each designed to work harmoniously. Specialised membranes, flashings, and sealants are applied according to manufacturer specifications, with waterproofing extending well beyond the rooflight itself.
Integration with existing roofing materials requires careful craftsmanship. Roof tiles are precisely cut and fitted around the rooflight, often requiring new tiles to achieve proper fit and weatherproofing. The objective is seamless integration appearing as though the rooflight has always formed part of your roof’s original design.
Internal finishing work focuses on ensuring your new roof windows integrate seamlessly with your home’s interior design. Ceiling finishing around the rooflight opening must match existing decoration standards, involving plastering, painting, or installing decorative trim pieces.
Electrical work is frequently required for rooflights featuring integrated blinds or automated opening mechanisms. This specialist work must be undertaken by qualified electricians and may require separate scheduling.
Comprehensive cleaning ensures your home is returned to pristine condition, with professional installers removing all construction debris and dust.
Before considering installation complete, thorough final inspection ensures everything meets professional standards and your expectations. Quality checks encompass weatherproofing integrity and smooth operation of moving components.
Operation demonstration proves particularly valuable for rooflights featuring advanced features. You’ll receive detailed instruction on proper operation and maintenance requirements, ensuring optimal performance throughout the expected lifespan.
Warranty information and maintenance guidelines are provided in comprehensive documentation. Building control sign-off may be required before your project is officially complete.
Rooflight installation involves temporary disruption to your routine. Noise levels will be most significant during cutting and structural work, typically lasting four to six hours on the first day. Planning alternative arrangements demonstrates thoughtful preparation.
Despite protective measures, some dust generation is inevitable during structural work. Access restrictions to certain areas may be implemented for safety reasons during active installation.
Even with meticulous planning, unexpected issues can arise. Structural surprises might be discovered once roof structures are opened, including unexpected wiring or plumbing requiring modification. Weather delays represent the most common postponement cause, with professional installers prioritising your home’s security.
Material issues occasionally occur, but reputable installers maintain contingency plans and can source replacement materials quickly.
Once installation is complete, you’ll be amazed by the transformation these roof windows bring to your home. The increased natural light, enhanced sense of space, and improved connection to outdoors create benefits extending beyond functionality.
An adjustment period is normal as you become accustomed to new light patterns. Many homeowners discover they rely less on artificial lighting and feel more connected to seasonal variations.
Your new rooflights represent a long-term investment in your home’s comfort, value, and aesthetic appeal. With proper installation and maintenance, these roof windows will continue enhancing your living space for years to come.
If you’re looking to enhance your home or business, please contact us here for a specialist to guide you through your visions for your property, home or business.