Understanding the rooflight installation process will help you prepare adequately and ensure your project runs smoothly from start to finish.


Installing a rooflight has four stages: forming the structural opening, building the upstand, fitting the unit and weatherproofing it, then finishing the reveal inside. GLRE manufactures, delivers and installs rooflights, including the lift on oversized units where a crane is needed. This guide sets out what happens at each stage, who does what, and what to settle before anyone gets on the roof. Browse the standard rooflight range if you are still choosing a unit.
The first job is confirming the opening. Rooflight dimensions refer to the unit, not to the hole in your roof, so the structural opening has to be set out from the manufacturer’s drawing rather than from the product name. Unit drawings for the standard range are on the technical drawings page.
This is also the point to confirm three things: that the roof structure can carry the unit, what happens to any services running through the roof void, and whether the position works internally as well as externally. A rooflight positioned for the roof and not for the room is a common and expensive mistake.
Where a standard size will not fit the opening, the bespoke rooflight service builds to your dimensions instead, and the survey becomes part of the design process.
Usually yes, because forming a new opening is a structural alteration and the rooflight has to meet a thermal standard. The limiting U-value for a rooflight is 2.2 W/(m2.K) under Approved Document L, Volume 1: Dwellings, calculated in the horizontal plane and on the developed area of the unit.
Planning permission is usually not required, because a rooflight that projects no more than 150mm above the plane of the roof normally falls within permitted development. Flats and maisonettes are generally excluded, and listed buildings and conservation areas are treated differently.
Agree at the outset who is making the building control application. It is a small job but it is the one most often assumed to be someone else’s.
The opening is cut and the surrounding structure trimmed so the load that was carried by the removed section is carried around the new opening instead. On a small unit between existing joists this can be straightforward. On anything large, or anything spanning more than one structural member, it needs designing.
This is the noisiest and most disruptive stage, and it is the one where the roof is open, so it is planned around the weather.
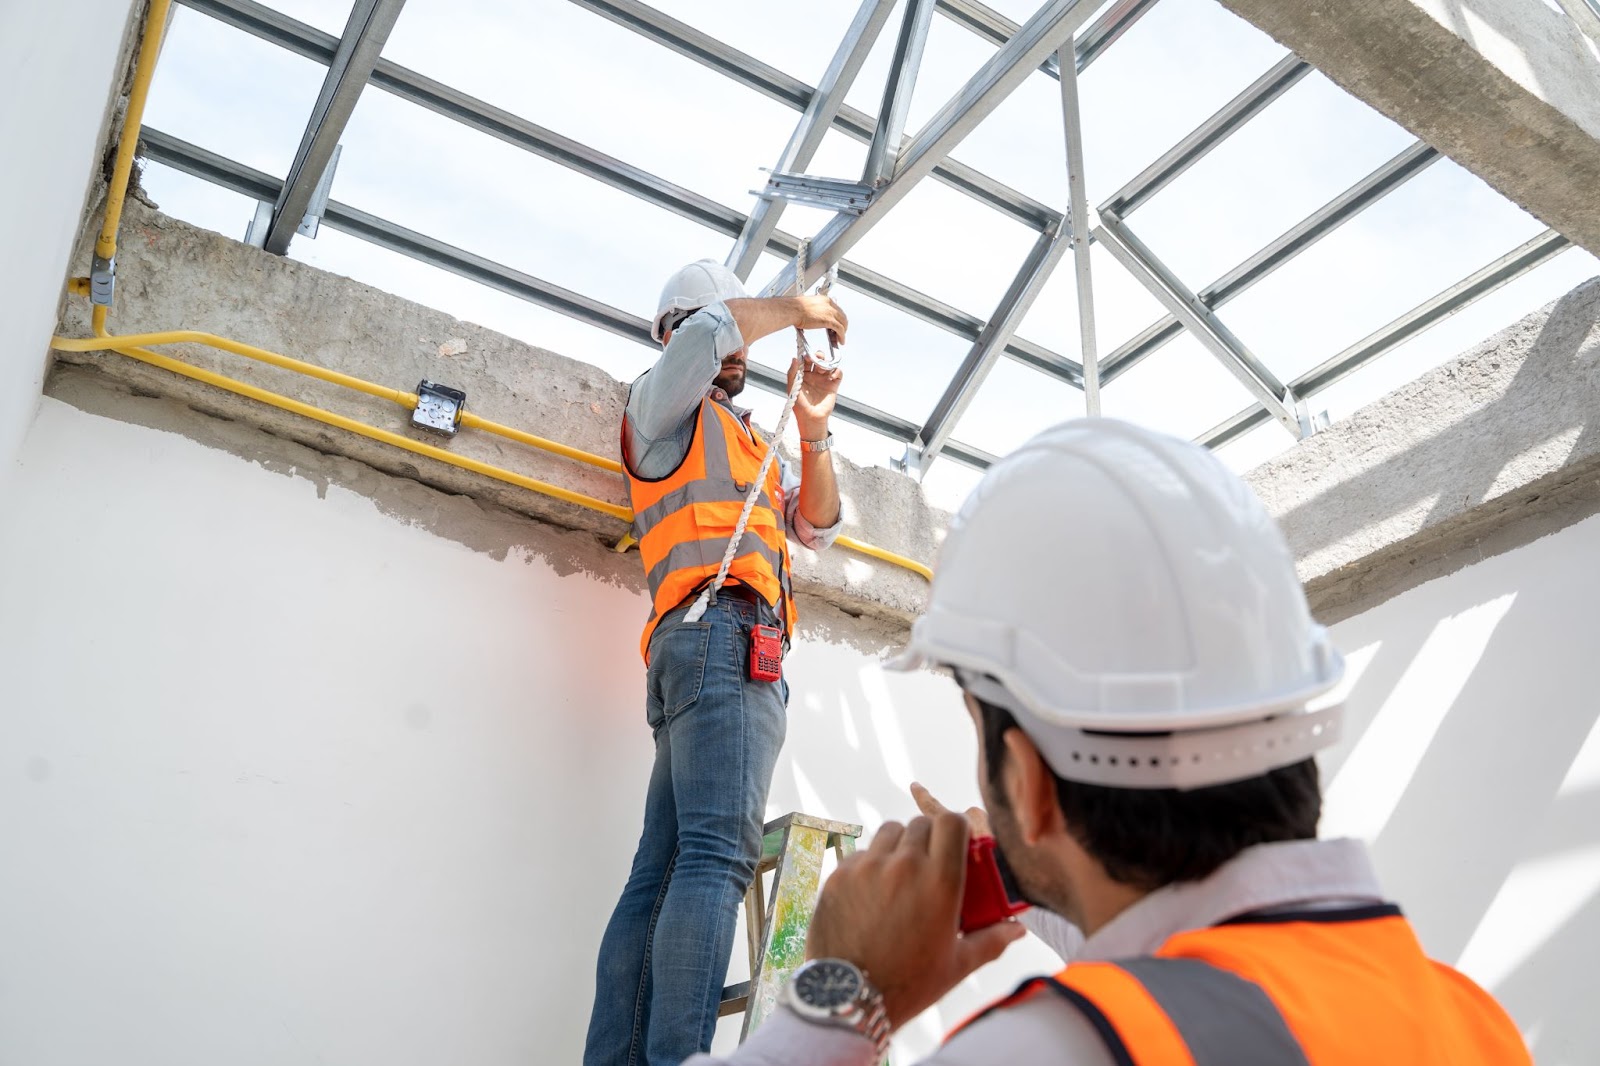
A rooflight for a flat roof sits on an upstand, which is a level timber kerb built around the opening. It does two things: it lifts the glass above the level of any standing water, and it gives the roof covering something to dress up against so the detail is watertight.
GLRE does not build upstands. Your roofer or builder does, and it is worth being clear about that early, because it is the part of the job people most often leave out of the budget. The upstand has to be built square, level and to the correct size, allowing for the fixing tolerance on the unit, and the rooflight cannot be fitted properly if it is not. GLRE can recommend a local contractor for this element.
GLRE standard rooflights arrive pre-glazed, sealed and in one piece, so the unit is lifted into position and fixed down rather than assembled on the roof. A flat glass mono-pitched rooflight in a domestic size is a manageable lift. Larger units, a pyramid rooflight at the top of the range, or a walk-on glass rooflight with its heavier structural glass, may need mechanical lifting, which GLRE’s installation team arranges.
Weatherproofing is where installations succeed or fail. The roof covering is dressed up the upstand and the junction sealed so water cannot track underneath. Rushing this stage is the most common cause of a leak appearing months later, usually at a corner.
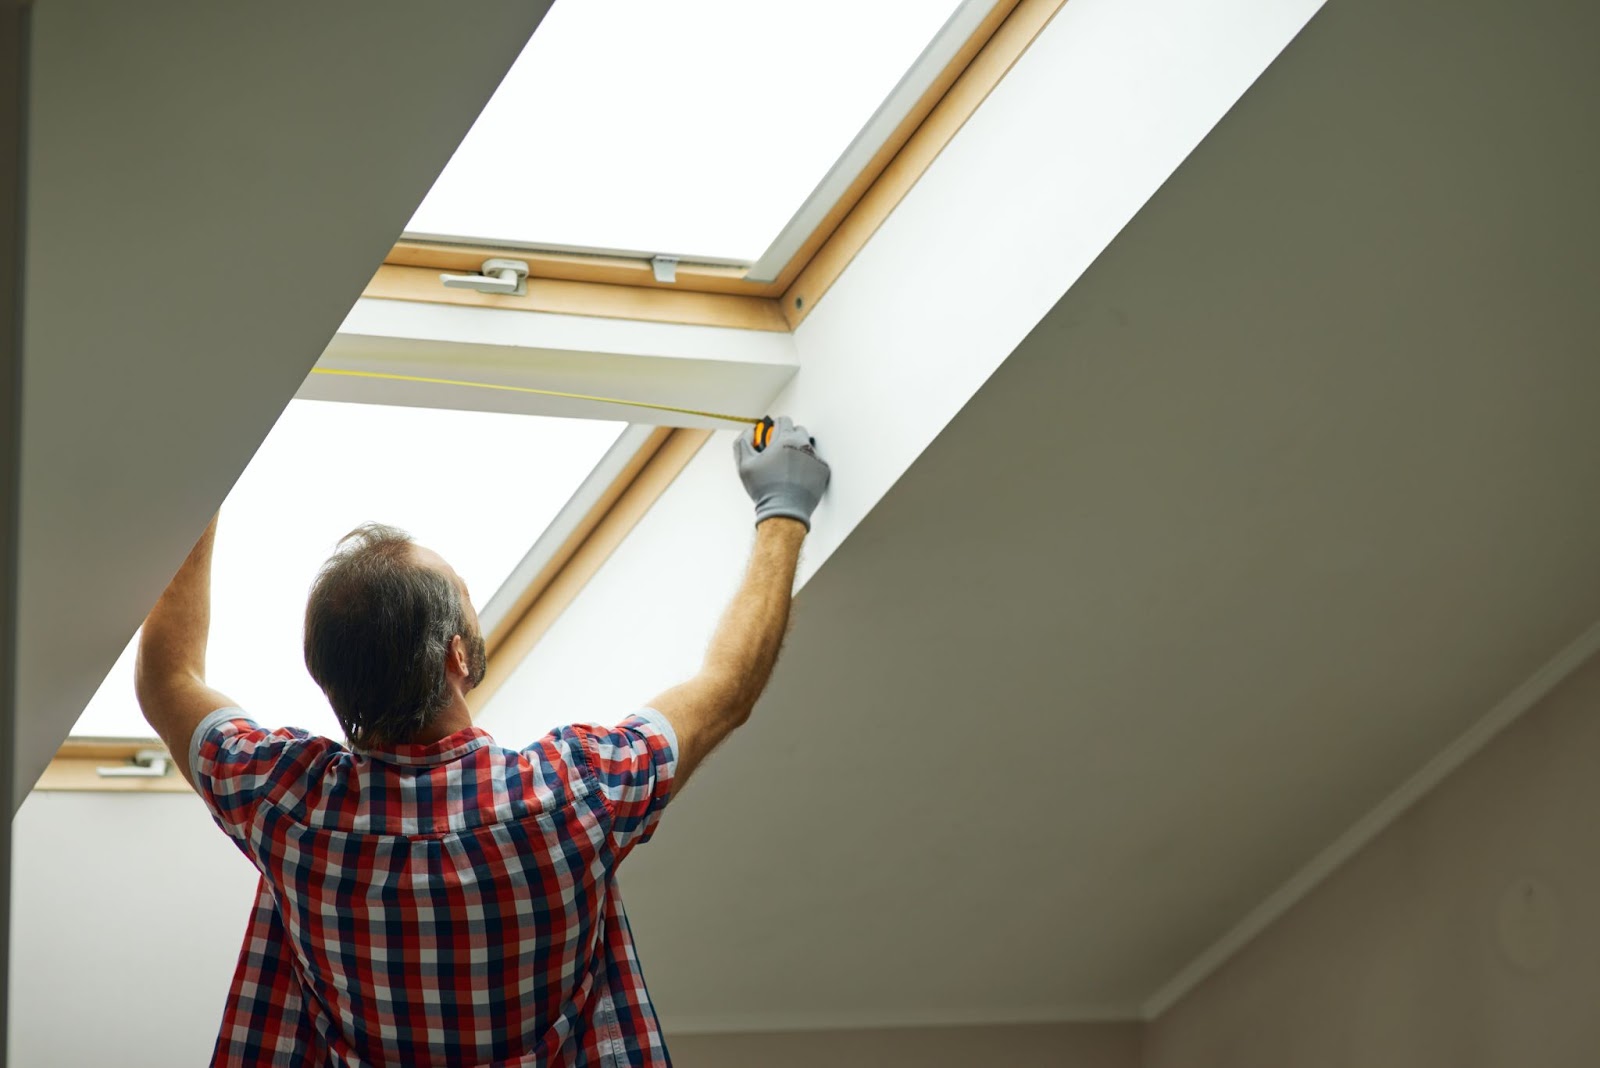
The internal reveal is plastered so the frame is concealed and you get a clean aperture of glass rather than a visible box. This is also where the insulation and the vapour control layer have to be carried continuously around the opening. Leave a gap and you get cold bridging at the reveal, which produces condensation that looks exactly like a leak and is not.
Splaying the reveal rather than cutting it square pushes more daylight into the room and is worth asking for.
A single standard unit into an existing flat roof is usually a short job once the opening is formed. The variables are the structural work, the weather and whether the roof covering has to be made good over a wider area.
Lead time on the unit itself is the other half of the programme. Standard products come from stock. Bespoke units are made to order, and you are given a firm timeline at order confirmation, so order the glazing before the roof is opened rather than after.
Planning a rooflight installation? Contact the GLRE team to talk through the opening, the unit and the fit.